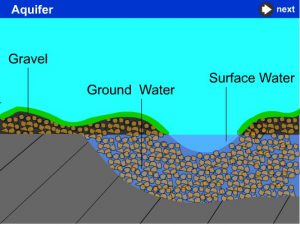
Hey Kids! Did you ever wonder where all of the water you use comes from? In the Antelope Valley, we get some of our water from under the ground. Groundwater doesn’t flow like an underground river. Instead, groundwater is stored in and moves slowly through layers of soil, sand and rocks called aquifers.
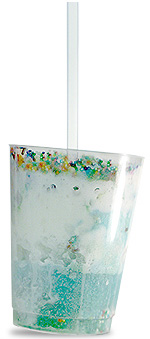
It can be kind of hard to picture how this works, so to help you out, we’re going to make an aquifer. In this case, it will be an edible aquifer. This will show you how groundwater is stored and how what we do above ground can affect the water underground.
Before getting started, click on the image below to get a better understanding of what you will be creating in your cup, and what all those big words mean.

Steps


| Cookie | Duration | Description |
|---|---|---|
| cookielawinfo-checkbox-analytics | 11 months | This cookie is set by GDPR Cookie Consent plugin. The cookie is used to store the user consent for the cookies in the category "Analytics". |
| cookielawinfo-checkbox-functional | 11 months | The cookie is set by GDPR cookie consent to record the user consent for the cookies in the category "Functional". |
| cookielawinfo-checkbox-necessary | 11 months | This cookie is set by GDPR Cookie Consent plugin. The cookies is used to store the user consent for the cookies in the category "Necessary". |
| cookielawinfo-checkbox-others | 11 months | This cookie is set by GDPR Cookie Consent plugin. The cookie is used to store the user consent for the cookies in the category "Other. |
| cookielawinfo-checkbox-performance | 11 months | This cookie is set by GDPR Cookie Consent plugin. The cookie is used to store the user consent for the cookies in the category "Performance". |
| viewed_cookie_policy | 11 months | The cookie is set by the GDPR Cookie Consent plugin and is used to store whether or not user has consented to the use of cookies. It does not store any personal data. |
